Planting
Planting the trees didn't take long once they had arrived. I had ordered two of the trees from one nursery and they arrived first. The rest came from another nursery and I couldn't plant them straight away so I heeled them in for about a week by planting them in a trench temporarily.
Because the soil is shallow I could only dig about one spade's depth for most of the trees. I dug holes a bit less than a metre in diameter. I mixed in as much compost as possible, but I didn't have a lot available. With hindsight I should have put more compost in - see Growing On Chalk for details. I did put some bonemeal in to help the roots develop.
Because the soil is shallow I could only dig about one spade's depth for most of the trees. I dug holes a bit less than a metre in diameter. I mixed in as much compost as possible, but I didn't have a lot available. With hindsight I should have put more compost in - see Growing On Chalk for details. I did put some bonemeal in to help the roots develop.
Staking
There are different views on whether to stake trees or not and how to do it if you do decide to. I chose to stake the apple trees on the dwarfing rootstocks and the acid cherry. Instead of vertical stakes I used ones at 45 degrees. I hammered them into the ground first, planted the trees next to them then sawed off the excess. For one of the apples I put the tree in too close which meant that the stake was too low. I used rubber tree ties to attach the trees to the stake. There are pictures in the gallery that show what it looks like. If I did it again I would use a smaller stake. It took me most of the first summer to realise that the ties were slipping down the stakes as the trees moved in the wind. This ended up pushing the trees to one side. I fixed it by nailing the tree tie to the stake at the right height.
Of the two standard apples, one had quite a few branches already and was fairly sturdy. I didn't use any staking for that one. The other was just a single stem and was quite flexible. I simply supported that with a tall bamboo cane. I used the same method for the mulberry tree. I left the quince and hazels unsupported and the sweet cherry was trained against a wall using horizontal wires at 0.3m intervals attached to eyes in two vertical posts at each end.
Of the two standard apples, one had quite a few branches already and was fairly sturdy. I didn't use any staking for that one. The other was just a single stem and was quite flexible. I simply supported that with a tall bamboo cane. I used the same method for the mulberry tree. I left the quince and hazels unsupported and the sweet cherry was trained against a wall using horizontal wires at 0.3m intervals attached to eyes in two vertical posts at each end.
Mulching
Once the trees were planted I used the shredded material I had cut down the summer before as a mulch. Although I had a lot of material it didn't go that far because of the number of trees and bushes. I added more mulch in the spring in the form of farmyard manure, compost and bark chippings. I plan to keep topping it up with garden compost, but at a slower rate in future years.
Labelling
The white labels that the trees arrive with from the nursery soon fade so I wrote out a plan of where the trees were planted once they were in the ground. My family bought me some copper labels that you can write on with a hard point of a biro and I used them to label the trees. Hopefully they will last a while.
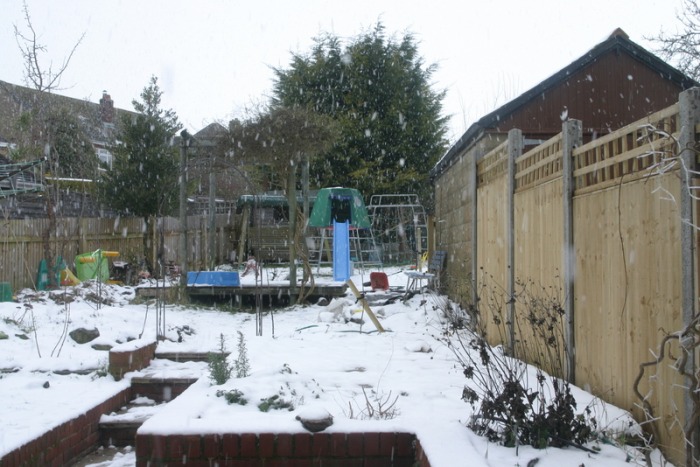
Cold weather just after tree planting - Februrary 2009
